
Photography… might be rocket science. Sort of.
Just a few thoughts on jewellery photography.
What is more difficult to photograph than a shiny piece of reflective metal with lots of detail?*
I don’t make highly fabricated or manufactured pieces. I kinda feel that my pieces have their own quirks that comes with creative work on a small business scale. Its representative of something of me, how I am feeling and what I am thinking. Also where I am at a place in time creatively. I want my pictures to show that but I also want the pictures to show the finish and attention to detail that I spent hours on, the work I put in to the small details and of course most of all I want them to be nice to look at. Ideally a professional photographer would take all my pictures for me and then edit them all but that isn’t always practical or viable so its important to be able to take a fairly decent picture.
Product pics vs lifestyle shots.
 I have realized I enjoy taking lifestyle shots as they can be a bit more playful. The exploration of colors and texture, light and shadow and backgrounds to photograph with jewellery feels joyous. You have to be careful though that the background does not become so distracting it becomes the star, I have a sneaky suspicion I could become guilty of that if I don’t reign myself in a little and choose wisely.
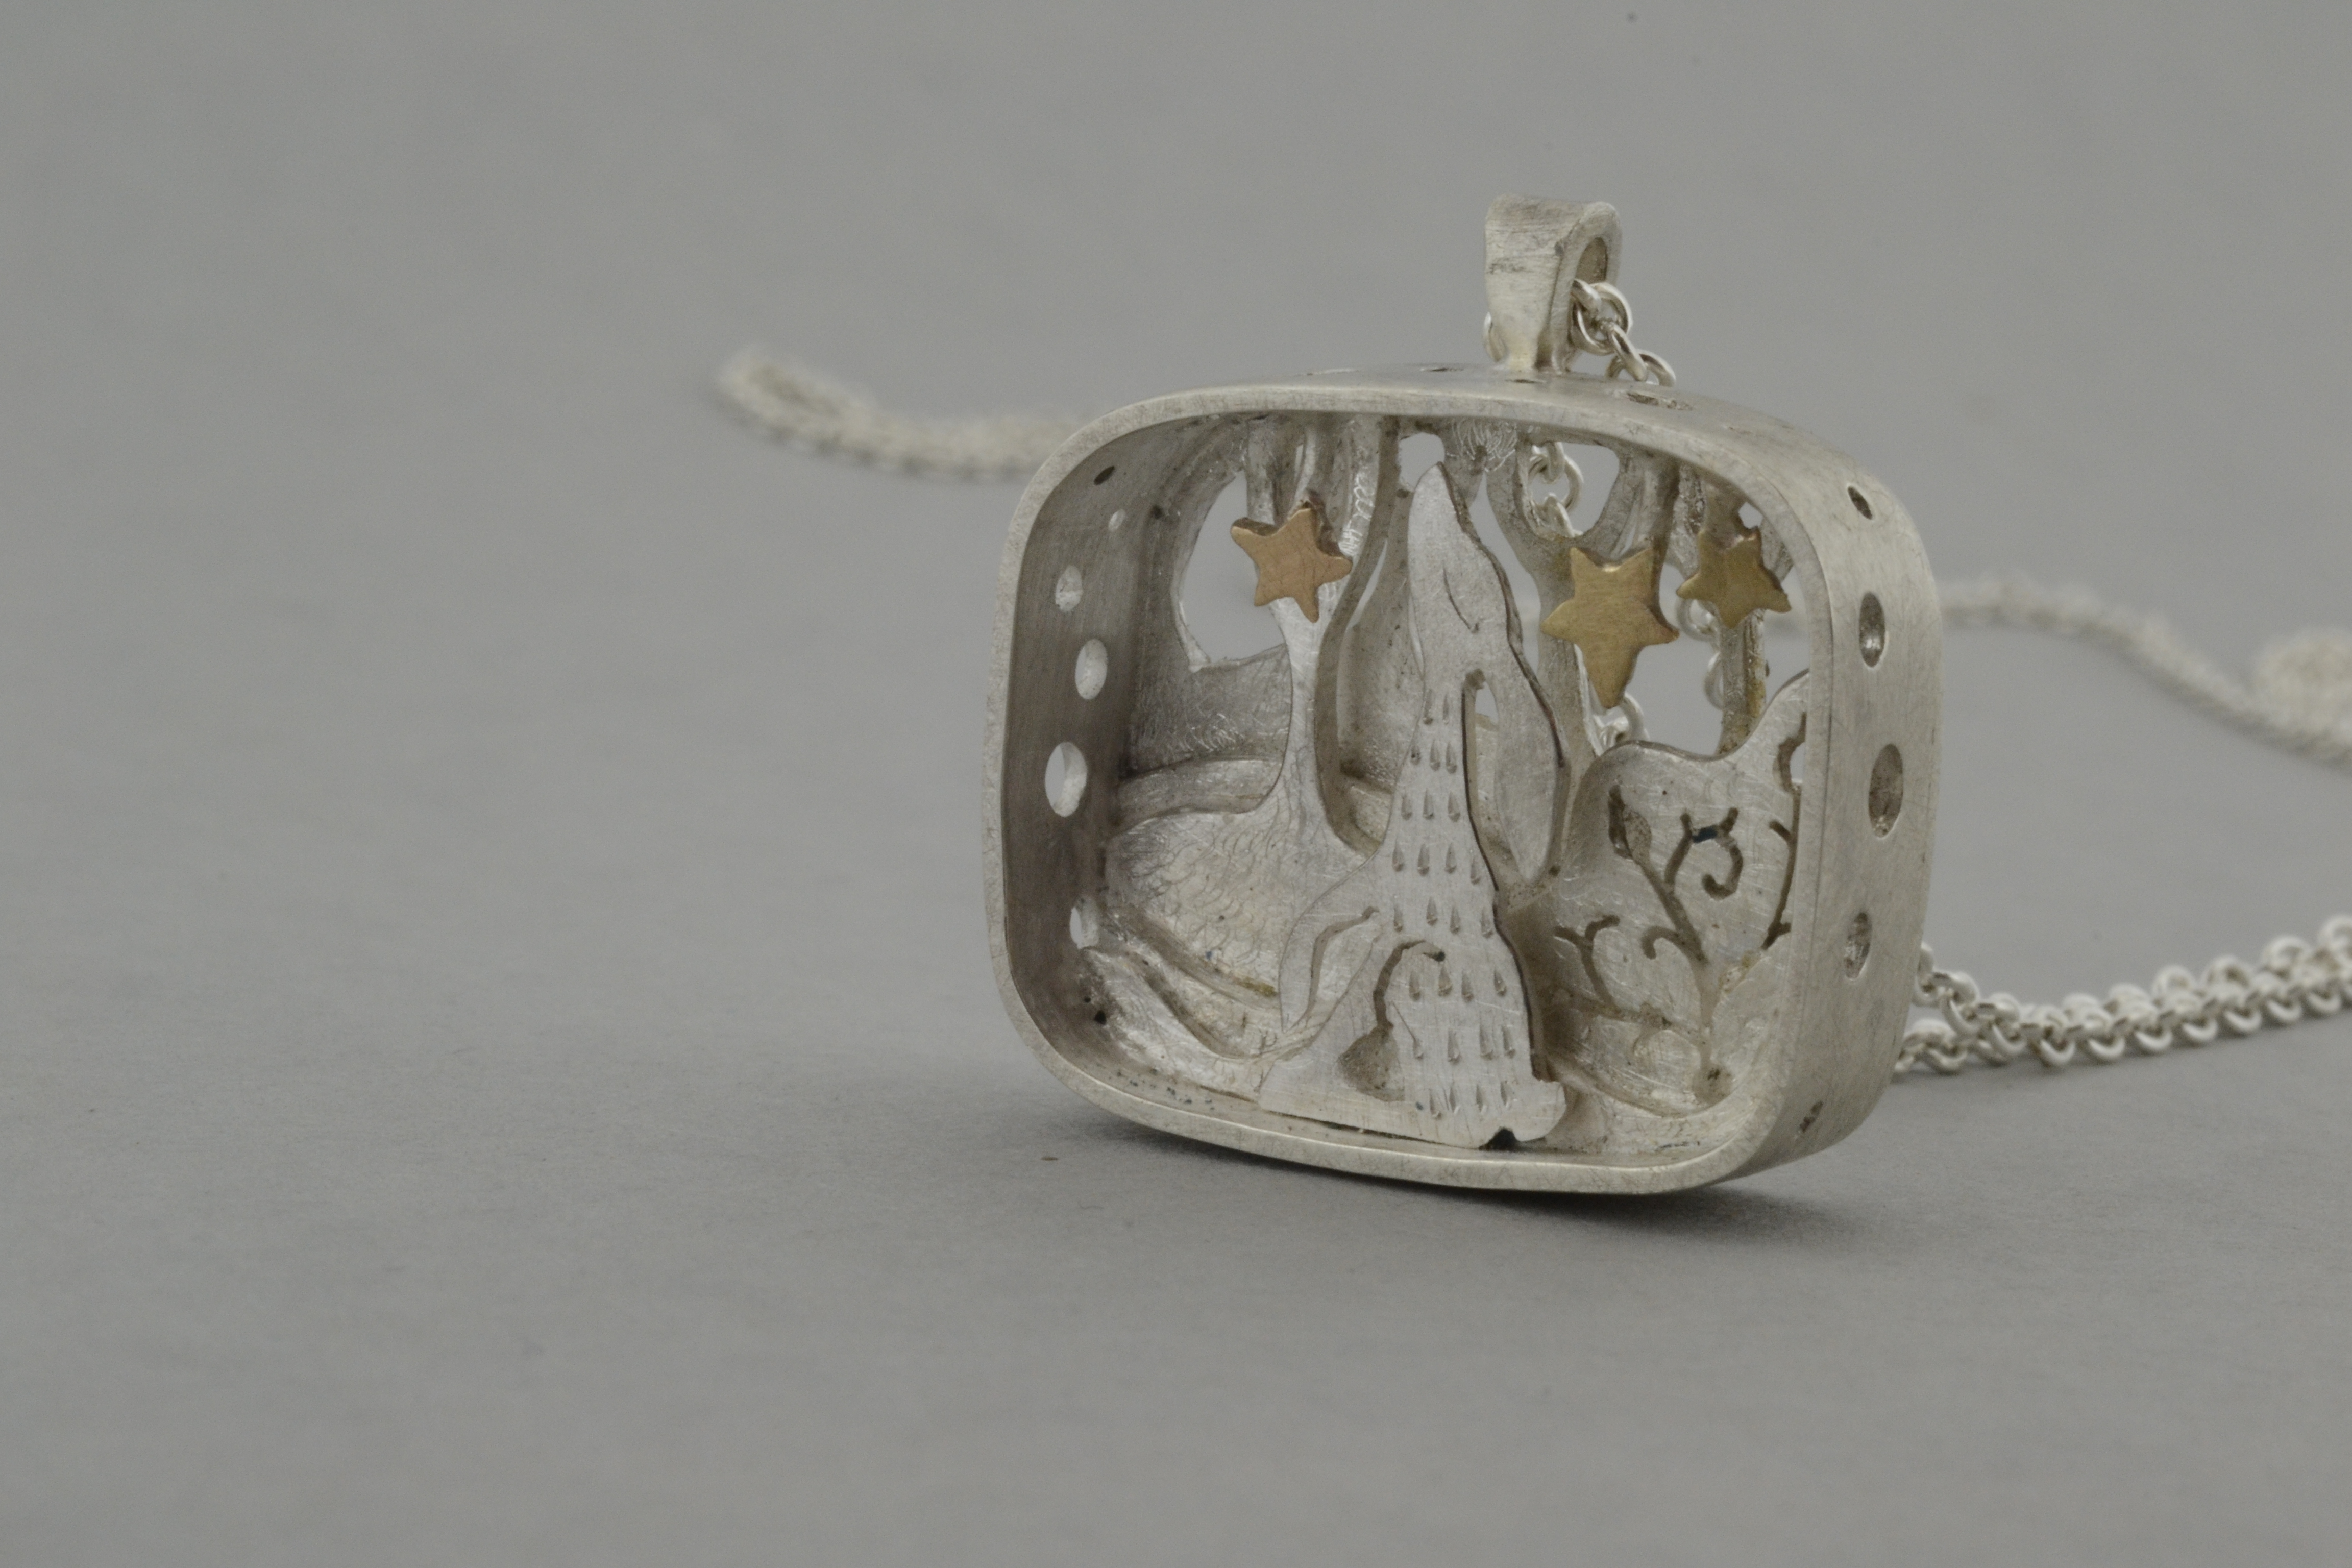
Lifestyle shots also have a bit more flexibility too I think. They can allow for mistakes and absorb a bit more imperfection. I might have cropped this picture a bit more, shown here on the right, until pro Sarah Brittain-Edwards pointed out the chimney flue is a detail in itself and adds interest to the overall picture.
It’s not black or white
Products shots are to the playful lifestyle shots the ‘straight man’ . They are the clean and precise, well lit, no nonsense, show everything photos. A while back I was trying to take my pictures on a white background but to be honest with my basic editing program I always felt it washed silver out or the glare of the white contrast would hurt my eyes. And who knew there was so many shades of white? In the jewellery industry if a picture is taken of a ring it often is done in four quarters, front, sides and back and then put back together again and edited to look, well, perfect. This isn’t always achievable and anyway I want pieces to look ‘real’ not manufactured.
With product shots consistency is key and with white I couldn’t make that happen. I use more of a soft grey background. You may notice every product in my shop has that color background – it’s fairly consistent.
All in all I took over five hundred or so pictures and out of those five hundred I reckon I was happy with twenty five. I mentioned this to photographer Darren who runs Eastwood studios and who worked with me on Light room and product pictures and he quite gleefully said ‘yep, that’s normal. You were quite lucky to get twenty five you felt happy with’.
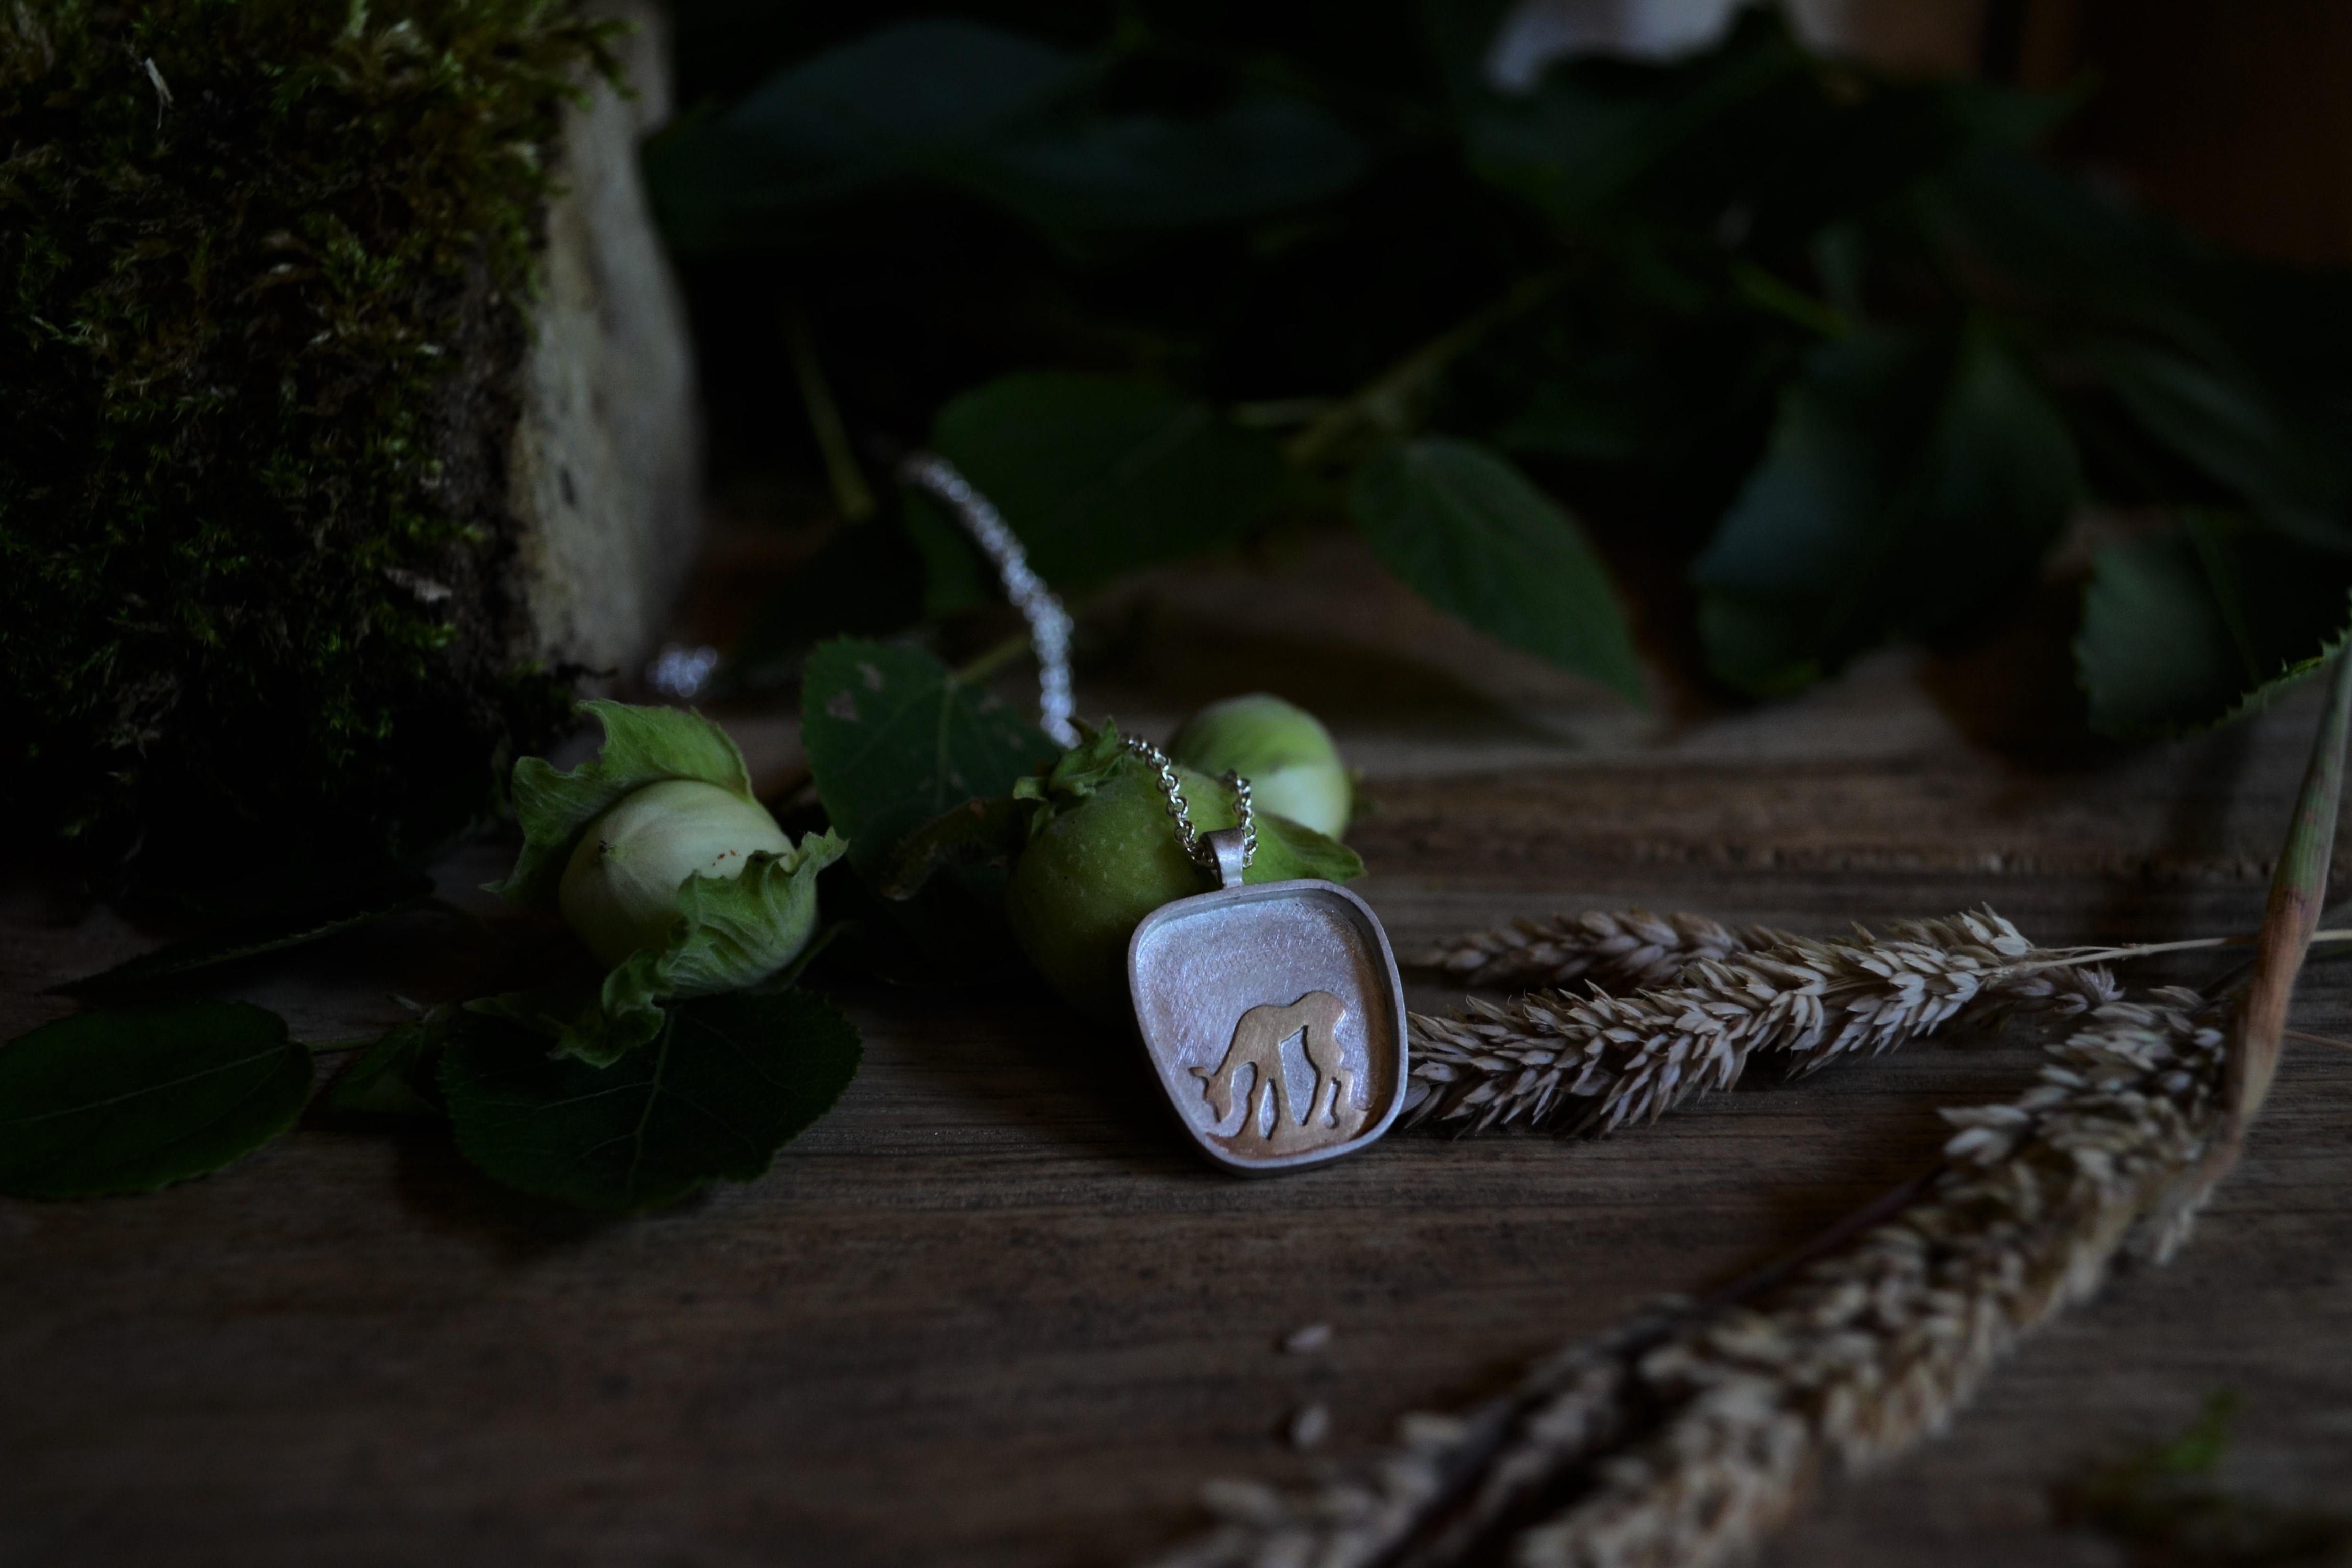
I also, finally, took a deep breath and invested in Lightroom for editing and you know what? I don’t regret it a single bit. It’s easy to use and although I was lucky enough to get a workshop there are also lots of decent easy to follow tutorials (I am still watching) on you tube to pick up extra tips. See below, the first picture is ‘before edit’ or should I say before and Lightroom! You can see its a just a little darker and colder. The second is the ‘after edit’. It definitely has a warmer feel.
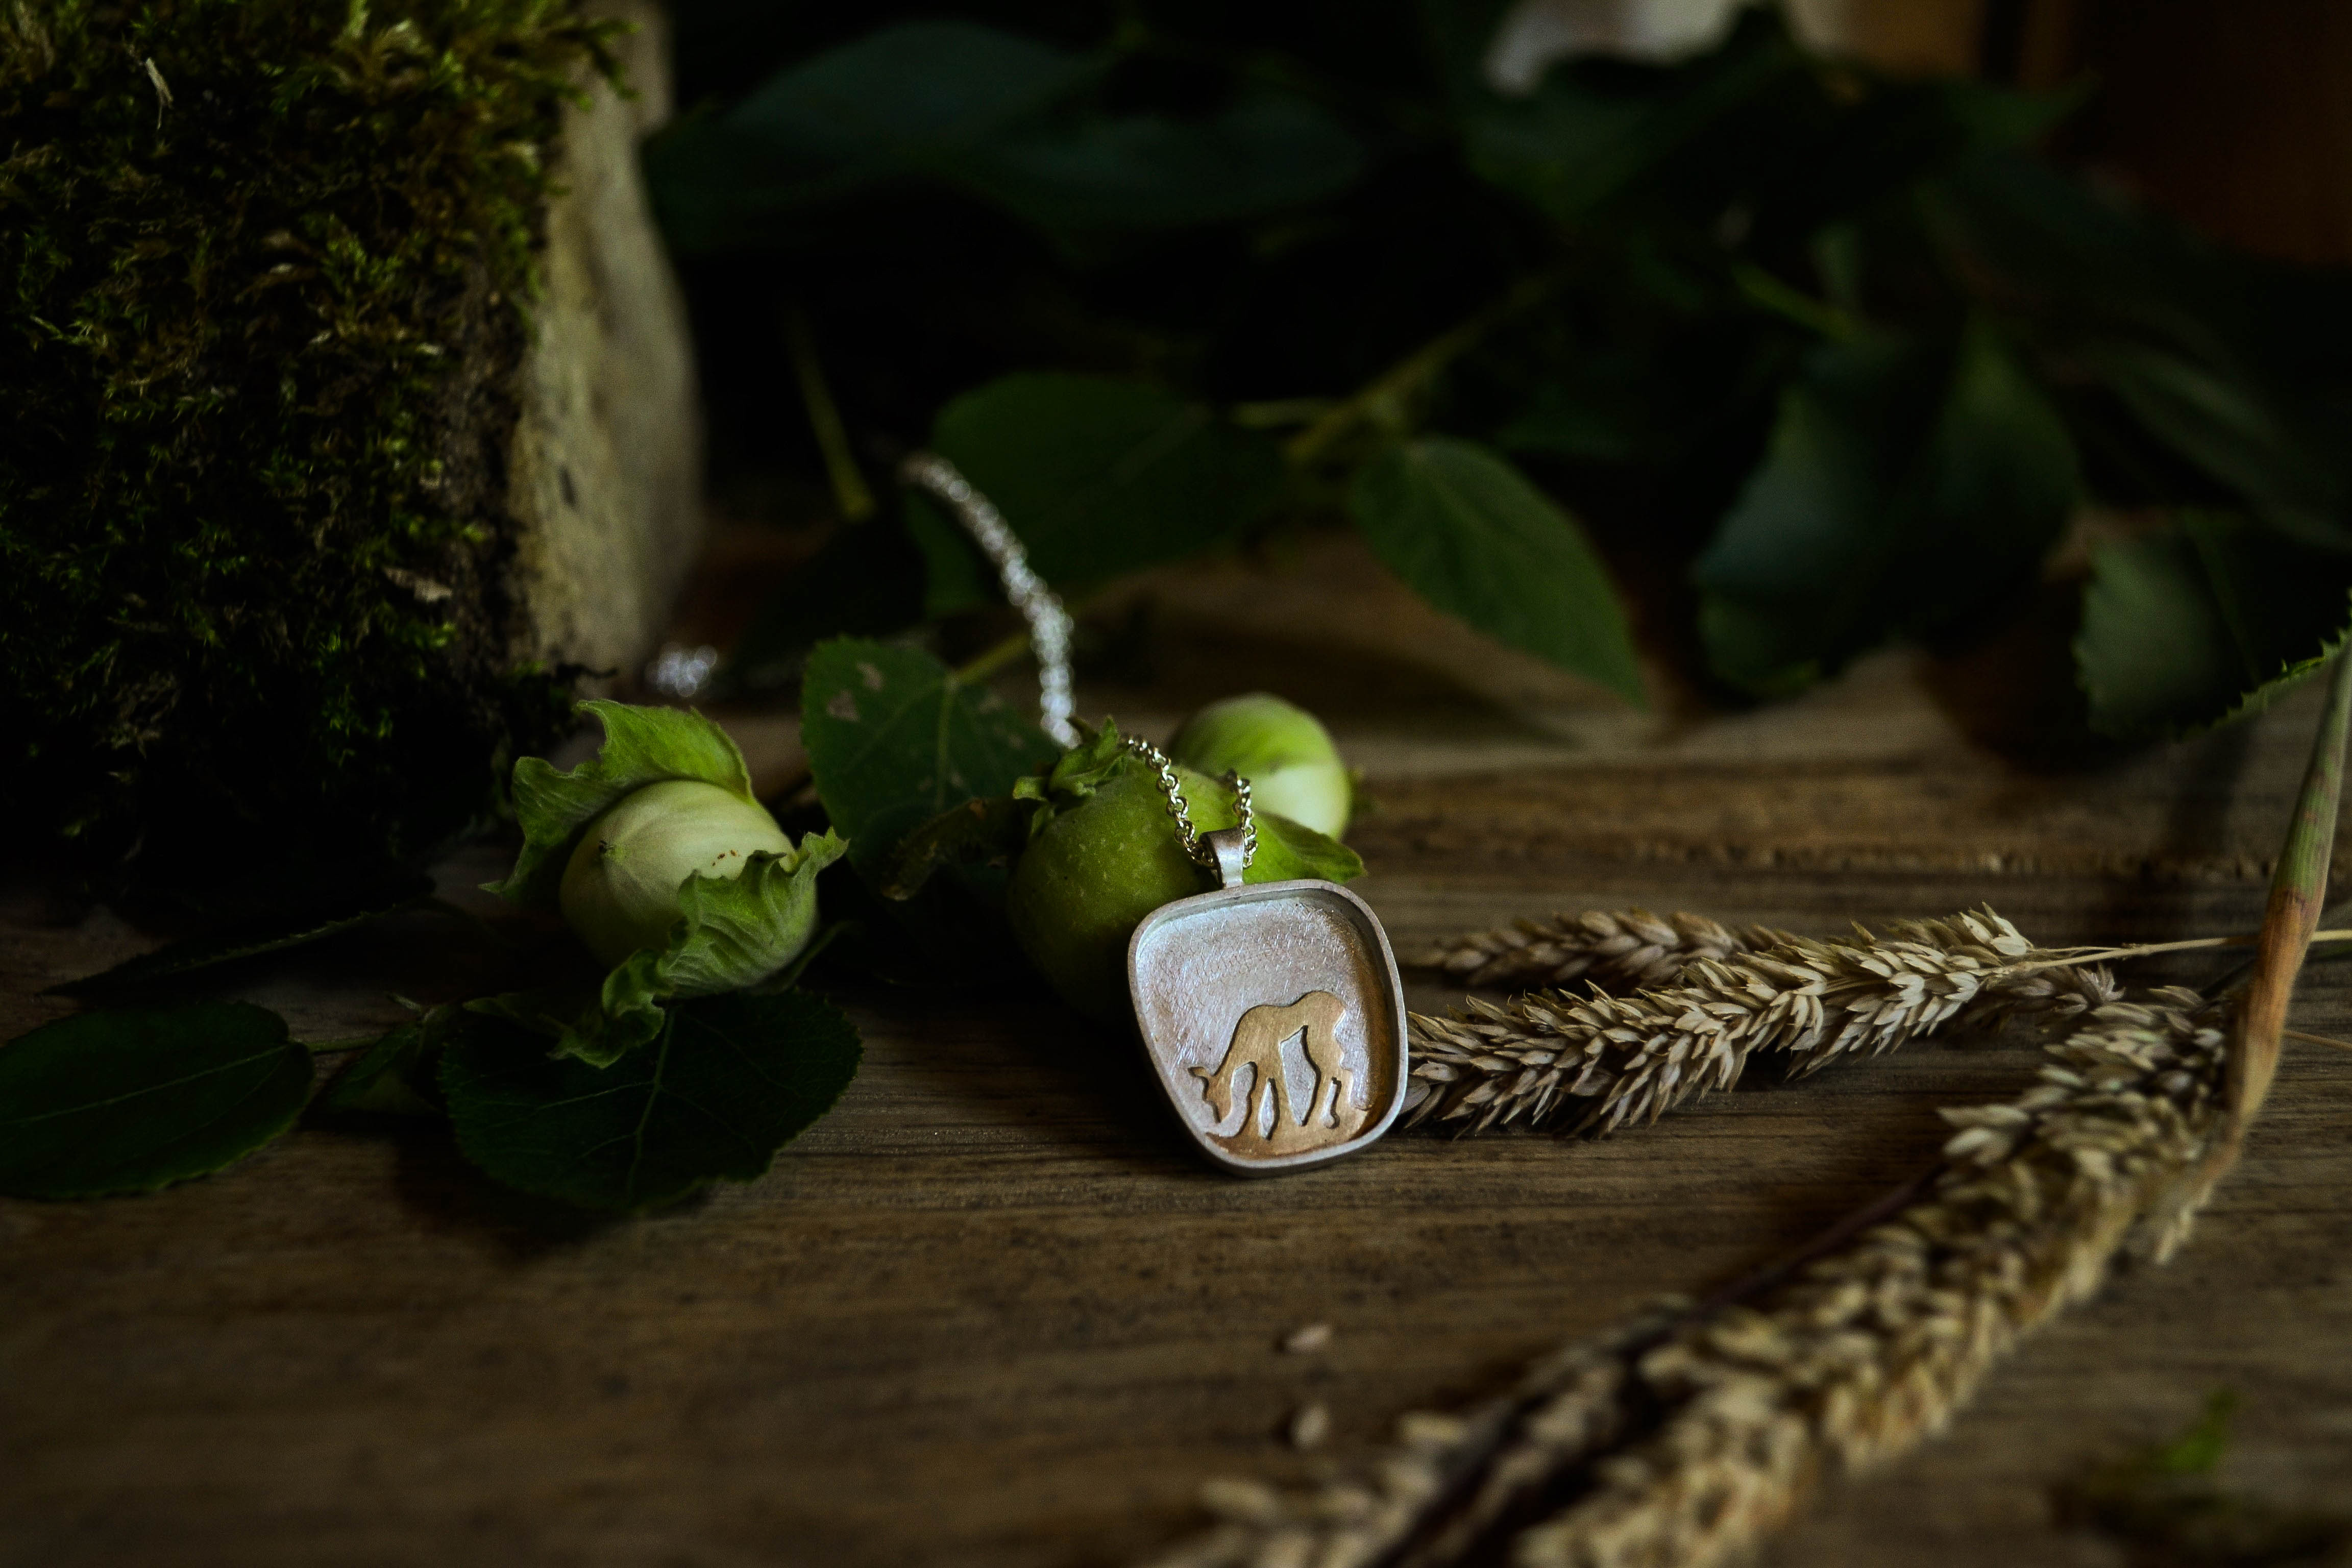 After LR (pic above)
So, I know I have a lot of work to do. I can see improvements I want to make on my next photography session. Already the picture I liked the best originally I can now see the flaws and fuzziness and a bit of color distortion where I would like sharpness and clarity.
What I have learnt (so far)
All photography takes time to set up so try to have a small collection of pieces ready and be sure to set aside at least a day and that will also work great for consistency so even if you can’t have a pro set up at least you will have a group of pictures that will look pretty similar lighting wise, especially for product shots.
Check your pictures on a laptop after taking the first twenty or so. A lot of professional photographers have a laptop linked up to their camera so they can see what they are taking and tweak as they go because viewfinders on cameras aren’t reliable. Nothing worse that taking a gazillion photos only to find they look terrible when it comes to edit.
Get a tripod. This is essential for small pieces of jewellery where you want a nice close up shot without fuzzy camera shake creeping in. Mine was cheap and cheerful and as such I have to weight mine down to make it a bit more stable because I would rather spend all my money on tools! Not perfect but it does the job…
Don’t have a remote button yet? (so you can tether to your camera remotely so you don’t have to risk accidentally altering the focus/or camera shake on close up shots when taking the picture)? Set the 10 second timer instead. Watching Darren from Eastwood studios do this on my camera was like an ‘oh yes makes sense’ moment.
For lifestyle shots Sarah Brittain-Edwards says pick maybe three complementary colours and roll with that for one shoot.
I am going to do seasonal shoots I think which will make me think about what kind of setting and props to use and suits my work I think. Hopefully getting better as time goes on.
If you use RAW or manual settings on your camera write down your camera settings somewhere, I have stickers stuck to my light box for product shots and for lifestyle a note in my diary. That way you know for the next time.
Next up
The next photography project for me is model shots – important for showing scale and I think always nice to see how pieces look when they are on. Even though I always write the dimensions of my each piece in the listing I suspect people think my pieces are a bit bigger than they actually are.
Any more tips for me? I am all ears….
*Light bulbs. Light bulbs are more difficult to photograph. (If you don’t believe me – you can confirm this with @Eastwood studios who also delivered my Lightroom workshop, product photography tips and made it super easy for me to understand.)
Really very happy I don’t make light bulbs.
With thanks to both super talented Sarah Brittain Edwards and Eastwood Studios, check out the links above to both – Both brilliant photographers and incredibly helpful (and most patient).
Leave a Reply